created:1/14/2022
updated:1/14/2022
Navigation Menu
Configuring this menu allows you to add, remove, and rearrange the content in the navigation of the page.
You can make changes to this menu by logging in to the admin dashboard and navigating to the Settings page in the Collections sidebar. Once there, simply select Menu.
Each top level Menu Item is comprised of 2 components, a Name and a Menu.
The Name of the item is what displays in the top level of the navigation menu. The value also correlates with the Menu name you would use to add a documentation entry to the menu. See Organizing Documentation for more about adding entries to the menu.
The Menu of the item is a text list of sub-Menu Items delimited by a comma. These values correlate to the name of the documentation entry that is placed under this Menu Item.
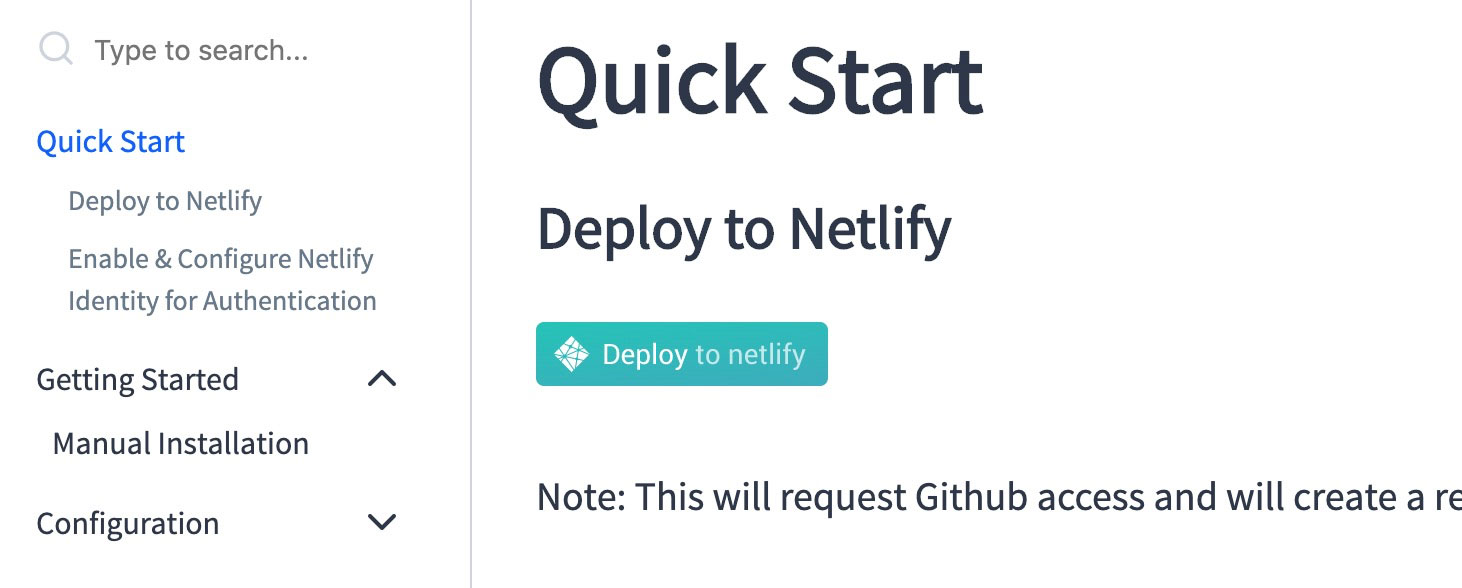
 Documentation menu
For example, given the Getting Started menu in the screenshot above, we would see the following values in a Menu Item:
- Name: Getting Started
- Menu: Manual Installation
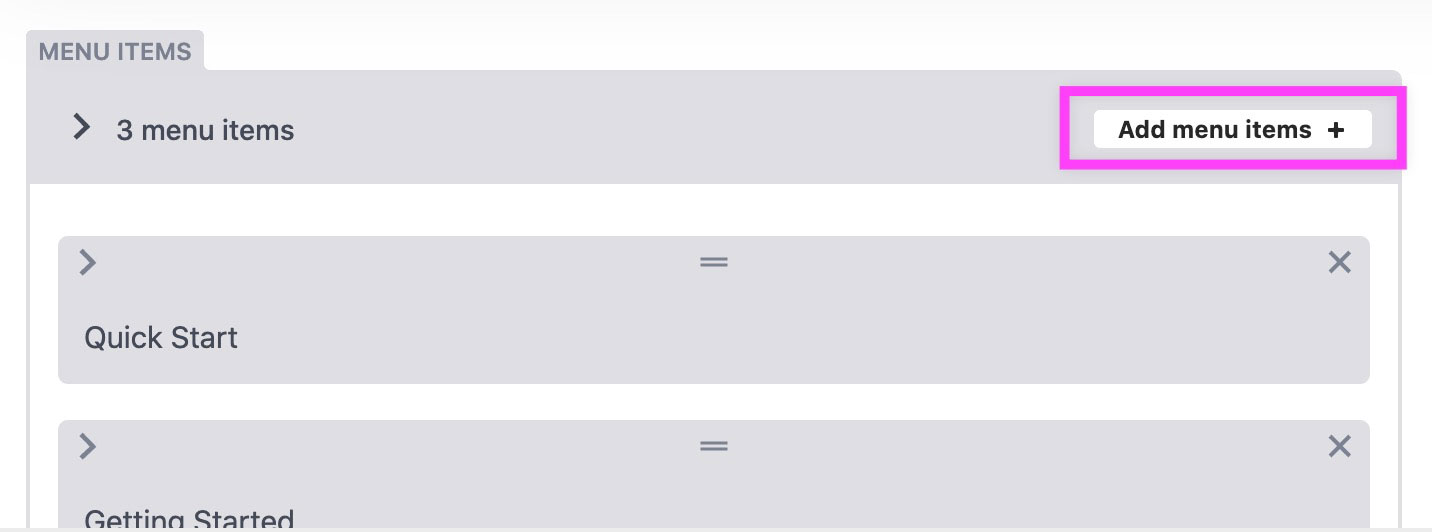
To add a new top level Menu Item, select the Add menu items option in the Menu Items panel.
 Add menu items button
Once added, enter a Name and optionally a Menu list.
To remove a top level Menu Item, simply click the X in the top right of the Menu Item's panel.
 Remove Menu Item button
To rearrange your menu items, click and drag the 2 bars icon that looks like a wide \= in the top middle of the Menu Item you want to rearrange and release once in the desired position.